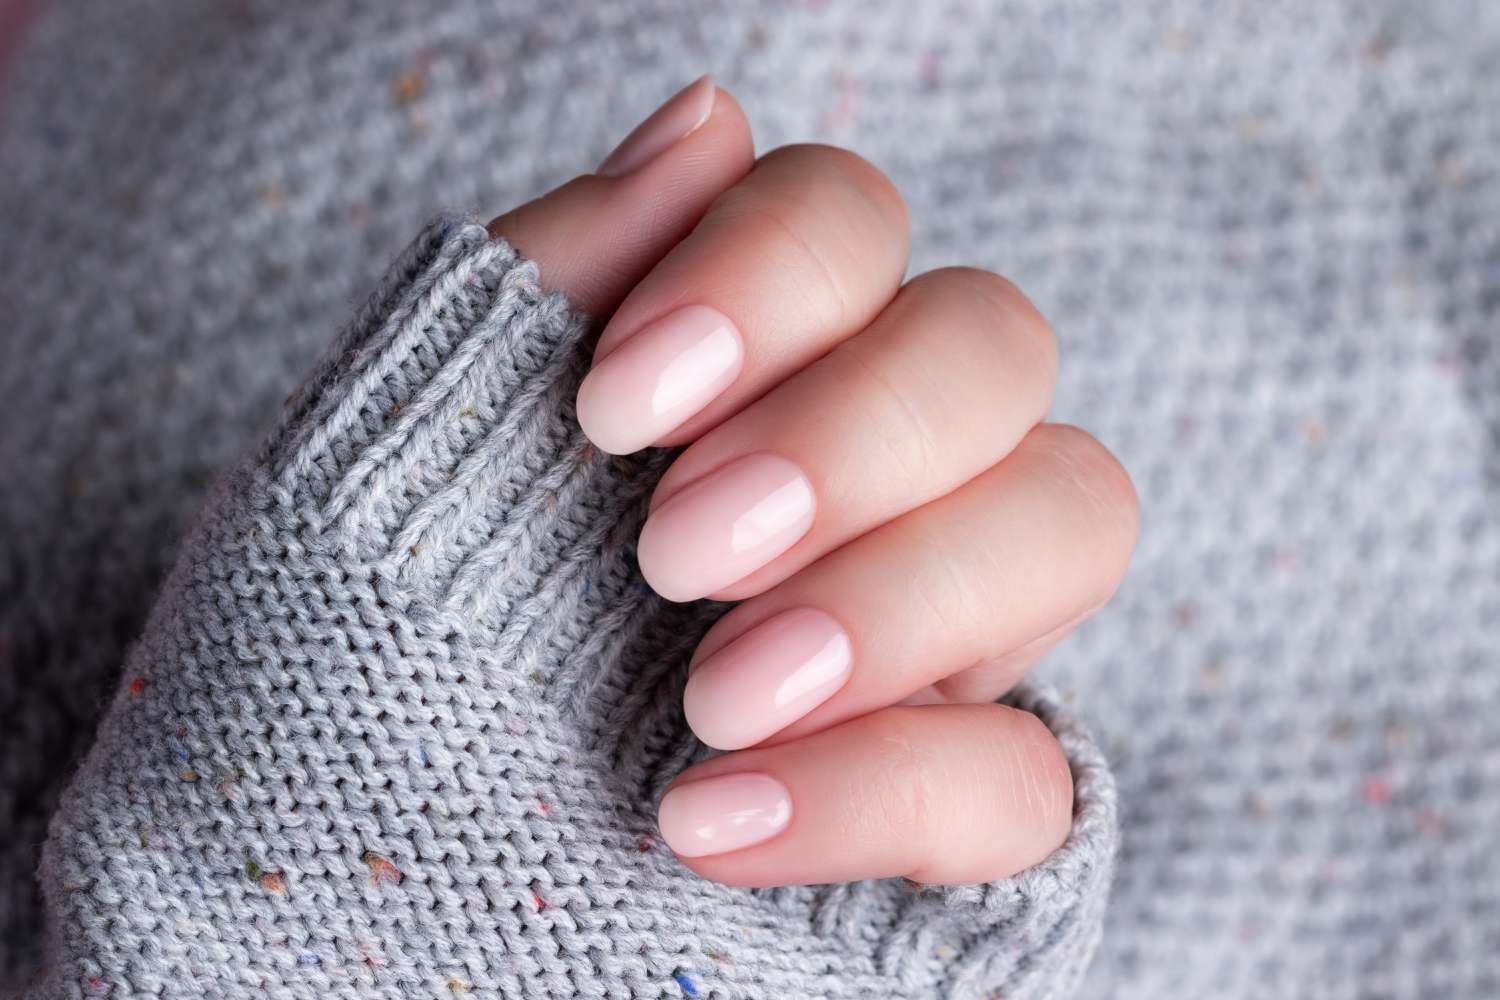

You’ve just spent an hour of your precious time carefully polishing your nails a color you’re super excited about, only to look down days—maybe even hours—later to see it chipping already. What gives? Generally speaking, a regular manicure should last about a week, so if you’re dealing with chipping before then it could mean there’s some room for improvement. The next time you do your nails, follow these manicurist pro tips to stop nail polish from chipping so you can enjoy your mani for way longer.
How to Keep Your Nail Polish from Chipping
Chipping or peeling nail polish can be traced back to three key issues: poor prep, low quality polish, and foregoing a top-notch topcoat. Here’s what to do instead.
Step 1: Wash Your Hands
A lot of prepwork goes into ensuring your manicure lasts. Think about how long it takes for a manicurist to get to the actual polishing part of your appointment! Step number one is to wash up.
“In order to make a manicure look great and last, the prep has to be done beforehand and it has to be perfect,” says celebrity nail artist Elle Gerstein. “Begin by scrubbing your nails with an antibacterial soap—think of it like washing your face.”
Step 2: Apply Alcohol
After letting your nails completely dry, Gerstein says to apply isopropyl alcohol (75% or higher) to each nail bed. You can use a cotton ball or Q-tip for this, or “paint” it on with a nail brush.
“This will act like an astringent and bring your nail to the proper pH level, while eliminating any dust and debris from your nail,” she explains. “This will create a flawless, ultra-glossy, long-lasting, and fast-drying manicure.”
Pro Tip: Isopropyl alcohol isn’t the same as acetone. The latter actually leaves debris on the nails, impacting the quality of your manicure by causing chipping, peeling, and a slow dry time. It’s like painting on oil, says Gerstein.
Step 3: Apply a Sticky Base Coat
The proper prep also includes using a sticky, rubbery base coat, Gerstein says. Often, brands formulate their base coat, nail polish, and top coat formulas to work well together, so if you have a favorite then consider staying loyal to the brand.
Pro Tip: After applying alcohol and before doing your base coat, avoid using your hands for anything, including running them through your hair, scratching your face, or tending to chores. Oil and debris will re-accumulate on your nails, creating a poor base for what’s to come.
Step 4: Paint Your Nails Using Thin Layers
Now for the fun part of putting some color on your nails. Apply your color polish in thin, even layers. (Thick coats tend to chip more easily.) It’s better to do two or three thin coats rather than one thick coat. Allow each layer to dry completely before applying the next one.
Pro Tip: Cap your edges by running the nail polish brush along the edge of your nails (the tip). This helps to seal the polish and prevent it from lifting.
Step 5: Seal with a Top Coat
Next, Gerstein says to finish up with an amazing top coat. One or two thin coats is plenty, and you can also cap the edges here, too. Allow your nail polish to dry/cure completely, then go about your business. To further maximize your mani, try to avoid doing anything too aggressive with your nails and wear gloves when cleaning or doing the dishes.